Installing a gate can seem daunting, but with the right preparation and clear steps, it’s a straightforward process. In this guide, we’ll walk you through exactly how to measure and install a gate, whether you’re replacing an existing one or adding a new entry to your fencing system.
Step 1: Determine the Purpose and Requirements
Before you start looking into which gate to purchase, consider what the gate is for:
- Pool fencing: Must comply with New Zealand’s Building Code, including a minimum height of 1.2m and self-closing, self-latching hardware.
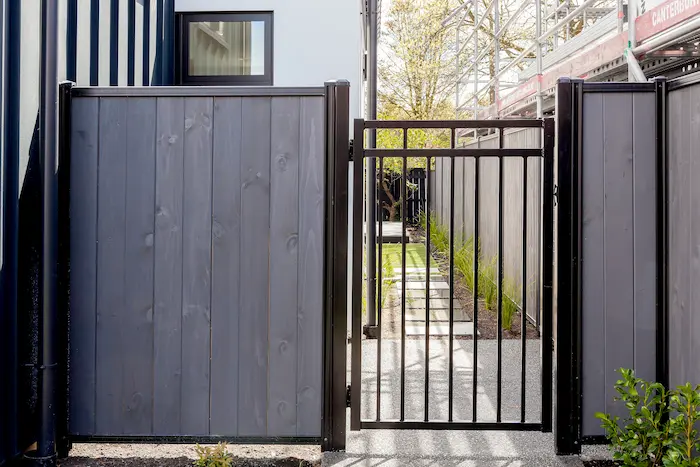
- Pedestrian access: Think about swing direction, security, and daily use.
- Driveway or double gates: Consider clear width for vehicles and heavier-duty posts or hinges.
Step 2: Measure the Gate Opening
Accuracy here is essential.
Key Terms
- Gate Width: The actual width of the gate frame itself (not the opening).
- Gate Opening: The total space between two posts or where posts will be.
- Hinge Clearance: The space required for the hinges to operate without binding.
- Latch Clearance: The space needed on the latch side to allow the gate to close and latch properly.
Scenario 1: Posts Already Installed
Measure the Opening
- Use a tape measure to get the distance between the inside faces of the two gate posts.
- This is your gate opening width.
Deduct for Hardware Clearances
Subtract the required clearance for hinges and latch. Gate hinges & latches vary depending on the gate size and/or safety requirements. Refer to the instructions with the hinges for the correct clearances or ask our team if unsure.
Example:
Gate Width = Gate Opening – Hinge Clearance – Latch Clearance
Gate Width = 2000mm (gate opening) – 20mm (hinge) – 20mm (latch)
Total Gate Width = 1960mm
Double Gates?
You’ll need to allow for a hinge clearance on each gate and add a gap (usually 20-25mm) in the centre to allow for movement and latching then split the gate width measurement in half to give you your total for each gate.
Example:
Gate Width = Gate Opening – Hinge Clearance – Hinge Clearance – Latch Clearance
Gate Width = 3500mm (gate opening) – 20mm (hinge) – 20mm (hinge) – 20mm (latch)
Total Gate Width = 3440mm/2 = 1720mm each gate leaf
Scenario 2: Posts Not Yet Installed
Measure the Opening
- Use a tape measure to get the distance of where you want the gate to be.
- This is your gate opening width.
Deduct for Posts and Hardware Clearances
Subtract the required clearance for posts, hinges and latch. Gate hinges & latches vary depending on the gate size and/or safety requirements. Refer to the instructions with the hinges for the correct clearances or ask our team if unsure.
Example:
Gate Width = Gate Opening – Posts (2qty) – Hinge Clearance – Latch Clearance
Gate Width = 2000mm (gate opening) – 130mm (2x 65x65mm posts) – 20mm (hinge) – 20mm (latch)
Total Gate Width = 1830mm
Double Gates?
You’ll need to allow for your posts on either side of the gates, a hinge clearance on each gate and a gap (usually 20mm) in the centre to allow for movement and latching then split the gate width measurement in half to give you your total for each gate.
Example:
Gate Width = Gate Opening – Posts (2qty) – Hinge Clearance – Hinge Clearance – Latch Clearance
Gate Width = 3500mm (gate opening) – 130mm (2x 65×65 posts) – 20mm (hinge) – 20mm (hinge) – 20mm (latch)
Total Gate Width = 3310mm/2 = 1655mm each gate leaf
Step 3: Check for Level and Plumb
Use a spirit level to check:
- That the ground is level across the gate area.
- That the surface is suitable for gate clearance and swing.
- If the ground is sloped, consider gate swing direction and height clearance.
Step 4: Install Gate Posts (if required)
If your gate will have new posts:
- Dig post holes to the recommended depth.
- Set posts in concrete, ensuring they are perfectly plumb and spaced to suit your gate width plus hinge and latch allowances.
- Allow concrete to fully cure (24–48 hours) before hanging the gate.
Fentec supplies a range of aluminium and steel posts designed to match your chosen gate system.
Step 5: Hang the Gate
Once the posts are set and ready:
Position the hinges on the gate, the recommended position for the hinges is set 100mm from the top and bottom of the stile.
- Lift the gate into place (you may need a second person).
- Check alignment and adjust for level before fully tightening the hinges.
For double gates, ensure both sides align at the top and meet evenly in the middle.
Step 6: Install the Latch
- Attach the latch at a comfortable height. Refer to the manufacturer’s instructions on how to install the latch, as this can vary depending on latch type.
- Make sure it lines up cleanly with the latch plate or catch.
- Test the latch to ensure smooth operation and security.
- Fentec offers a selection of gate latches designed for our aluminium and steel systems.
Whether you’re after a sleek aluminium pedestrian gate, a steel gate frame or something custom made, Fentec has a solution for your space. Browse our gates or get in touch for expert advice on measuring, installation, and product selection.